Step-by-Step Guide to Cloning Cannabis Plants Indoors » How to Grow Weed Indoors
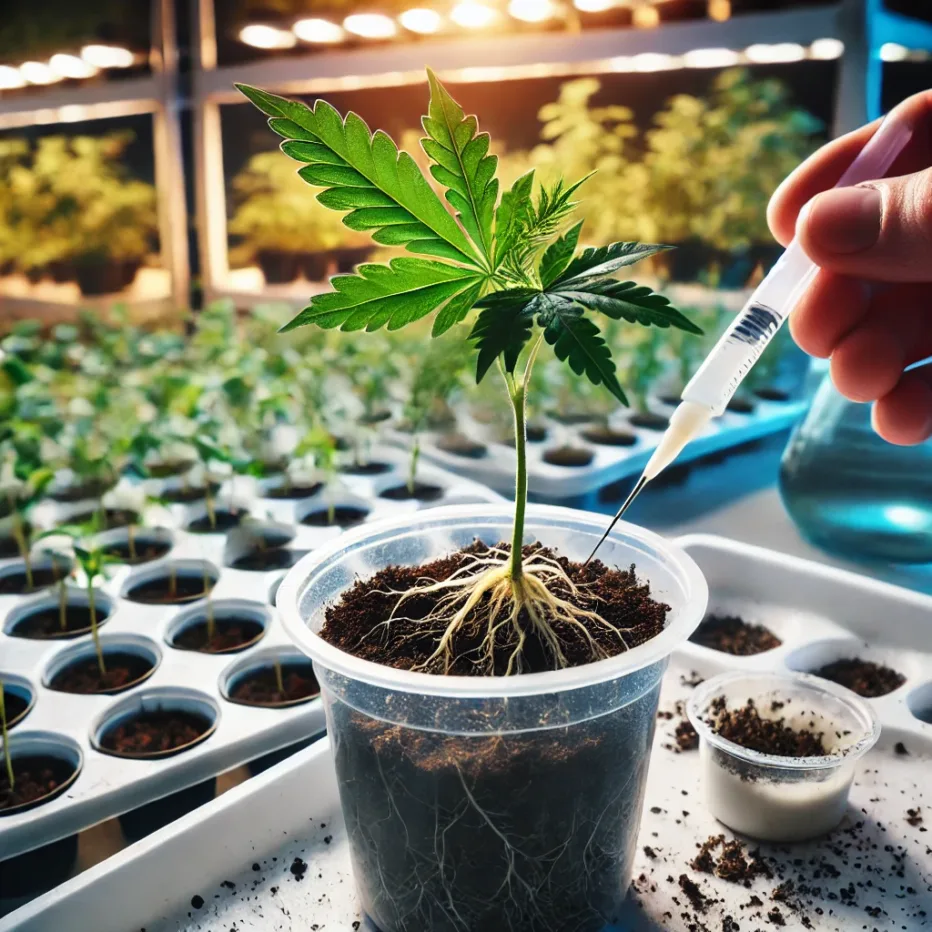
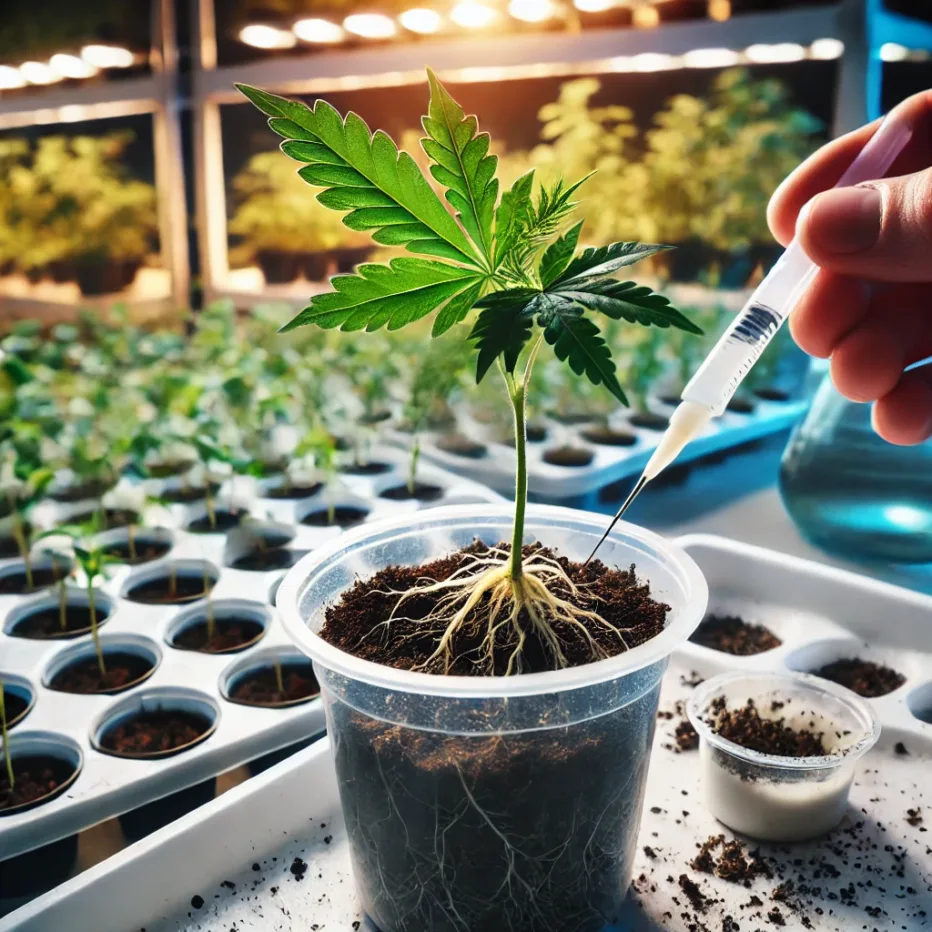
Cloning cannabis plants is a technique that allows growers to replicate their favorite plants, ensuring consistency in their crop as you’ll learn reading Step-by-Step Guide to Cloning Cannabis Plants Indoors.
Whether you’re aiming to preserve a particular strain’s genetics or boost your garden’s yield, cloning is an essential skill for any indoor grower. This step-by-step guide will walk you through the entire process, from selecting the right mother plant to successfully rooting your clones.

1. Selecting the Right Mother Plant
The first step in cloning cannabis plants is selecting a healthy and robust mother plant. This plant should exhibit the traits you wish to replicate, such as high yield, potency, and resistance to pests or diseases. The mother plant should be in its vegetative stage, as clones taken from flowering plants are less likely to root successfully.
Key Considerations:
– Health: Choose a plant free from pests, diseases, and nutrient deficiencies.
– Genetics: Select a plant with the desired traits, such as high THC content or specific flavors.
– Age: The mother plant should be mature but not too old, ideally between 2 to 4 months in the vegetative stage.
2. Preparing Your Tools and Environment
Cloning requires precision, so it’s essential to have all your tools ready and your environment optimized for rooting.
Tools You’ll Need:
– Sterile, sharp scissors or pruning shears
– A clean razor blade
– Cloning gel or powder
– Small pots or a cloning tray
– Rooting medium (e.g., rockwool, peat pellets, or soil)
– Spray bottle with water
– Humidity dome
– Grow lights
Environmental Setup:
– Temperature: Maintain a temperature between 72-77°F (22-25°C) for optimal rooting.
– Humidity: Keep the humidity high, around 70-80%, to prevent the cuttings from drying out.
– Lighting: Use low-intensity lighting, such as fluorescent or LED grow lights, to avoid stressing the clones.
3. Taking the Cuttings
Once your tools and environment are ready, it’s time to take cuttings from your mother plant.
Steps:
1. Select a Branch: Choose a healthy branch with several nodes and cut it at a 45-degree angle using sterile scissors. Aim for a cutting that is 4-6 inches long.
2. Trim the Leaves: Remove the lower leaves, leaving only a few at the top to reduce moisture loss.
3. Prepare the Cutting: Immediately after cutting, use a clean razor blade to make a small vertical slice at the base of the stem. This increases the surface area for rooting.
4. Dip in Cloning Gel: Dip the base of the cutting into cloning gel or powder to encourage root development.
4. Planting the Cuttings
After preparing your cuttings, it’s time to plant them in the rooting medium.
Steps:
1. Make a Hole: Use a pencil or similar object to create a small hole in the rooting medium.
2. Insert the Cutting: Gently place the cutting into the hole, ensuring the rooting gel is not wiped off in the process.
3. Firm the Medium: Lightly press the medium around the cutting to secure it in place.
5. Creating the Right Environment for Rooting
Clones are sensitive and require a stable environment to develop roots. Here’s how to create the perfect conditions:
Humidity and Temperature Control:
– Humidity Dome: Place a humidity dome over the clones to maintain high humidity.
– Misting: Lightly mist the clones with water once or twice a day to keep them hydrated.
– Ventilation: Ensure there is adequate airflow to prevent mold and mildew.
Lighting:
– Light Duration: Provide 18-24 hours of light daily using low-intensity grow lights.
– Distance from Light: Keep the lights about 12-18 inches above the clones to prevent heat stress.
6. Monitoring and Caring for Your Clones
Over the next 1-2 weeks, closely monitor your clones for signs of rooting and health.
Signs of Rooting:
– New growth at the top of the cutting indicates successful rooting.
– Roots emerging from the bottom of the medium is a clear sign the clone is ready for transplant.
Common Issues:
– Yellowing Leaves: This is normal as the clone redirects energy to root formation.
– Wilting: If wilting occurs, increase humidity or reduce light intensity.
7. Transplanting the Rooted Clones
Once your clones have established roots, they are ready to be transplanted into larger pots or your hydroponic system.
Steps:
1. Prepare the New Pot: Fill a larger pot with soil or your chosen growing medium.
2. Transplant Gently: Carefully remove the clone from its original medium and place it into the new pot.
3. Watering: Water the clone lightly to settle the soil around the roots.
8. Post-Transplant Care
After transplanting, continue to care for your clones as they transition into the vegetative stage.
Steps:
– Gradually Increase Light Intensity: Slowly introduce the clones to stronger light over a few days.
– Nutrient Feeding: Begin feeding with a mild nutrient solution designed for young plants.
– Monitor Growth: Keep an eye on the plants for signs of stress or nutrient deficiencies and adjust care as needed.
Conclusion
Cloning cannabis plants indoors is a valuable skill that can significantly enhance your growing operation. By following this step-by-step guide, you can ensure a high success rate in cloning and maintain consistency in your cannabis garden. Whether you’re a seasoned grower or a novice, mastering the art of cloning will allow you to perpetuate your favorite strains and achieve the best possible yields.
For those new to cloning, don’t be discouraged by initial challenges. With practice and attention to detail, you’ll soon be producing healthy, vigorous clones that mirror the best traits of your original plants.


